- Home
- Integrations
- API Key
API Key
To register an authorization of type API Key, access the Authorizations screen through the left side menu or the corresponding card on the Welcome screen.
NOTETo understand the differences between Sensedia Integrations authorization types, visit our Glossary.
On the Authorizations screen, click + AUTHORIZATIONS in the upper right corner to create your new registration.
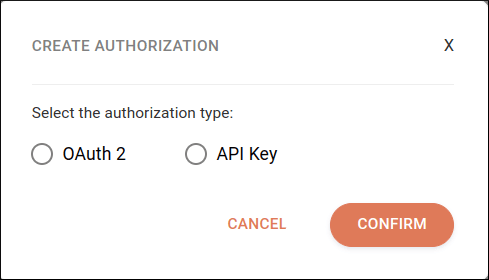
In CREATE AUTHORIZATION, select the API Key type and click CONFIRM:
To configure the API Key, fill in the following fields:
- Name: authorization name. Alphanumeric field that allows special characters and empty spaces, with a limit of 1024 characters.
- Description (optional): authorization description. Alphanumeric field that allows special characters and empty spaces, with a limit of 1024 characters.
Next, select the environment you want to configure:
- Staging
- Production
TIPData registered in the Staging environment will be used when executing Test Mode.
If necessary, you can select and configure both environments. For each environment, configure the following authentication data:
- Key: enter the key name. Limit of 250 characters.
- In: select where the key and value will be sent:
- Header;
- Query Params;
- Cookie.
- Value: enter your API Key value. To view the value, click the
 icon on the right.
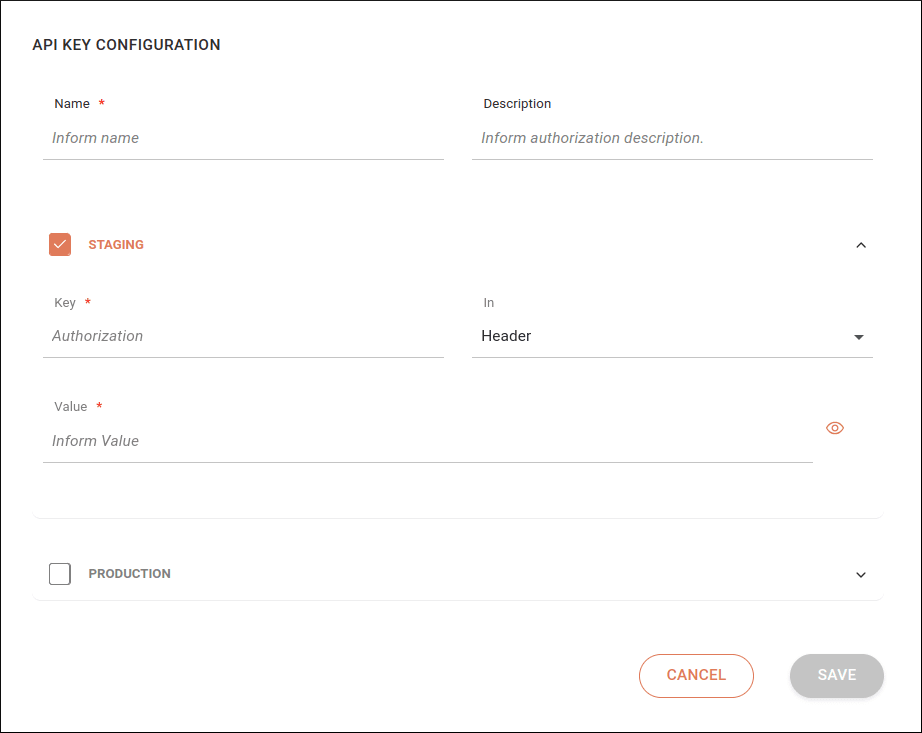
To save the authorization settings, click SAVE.
NOTEThe SAVE button saves the settings for the selected environment. If you configure one environment and start configuring another, the button will be locked until all fields of the second environment have been filled in.
To exit without saving your changes, click CANCEL and confirm the action.