OpenID Connect
Configuring an OpenID Connect connection
There are four steps to configure an OpenID Connect connection:
- Create a federated login in Access Control
- Create an app in OKTA
- Configure the federated login in Access Control
- Create a user in OKTA
NOTEIt is not possible to generate Client Credentials using federated logins.
Check out the step-by-step configuration below:
Create a federated login in Access Control
Access the Federated Login screen from the left menu.
Select the OpenID federated login type and click CONFIGURE FEDERATED LOGIN.
Copy the URL from the Callback URL field.
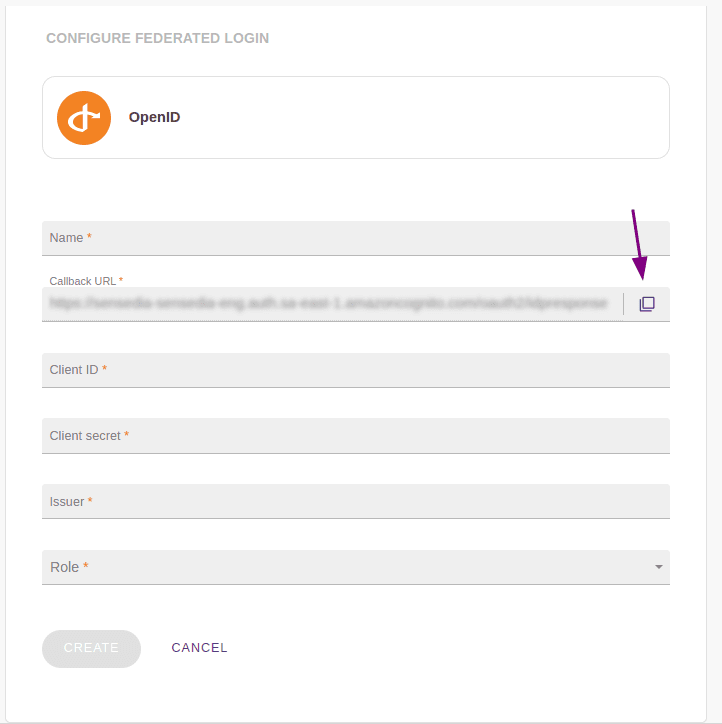
IMPORTANTThis is the URL to which the user should be returned after authentication and will be used later in the OKTA configuration.
Create an app in OKTA
In a new tab, access OKTA.
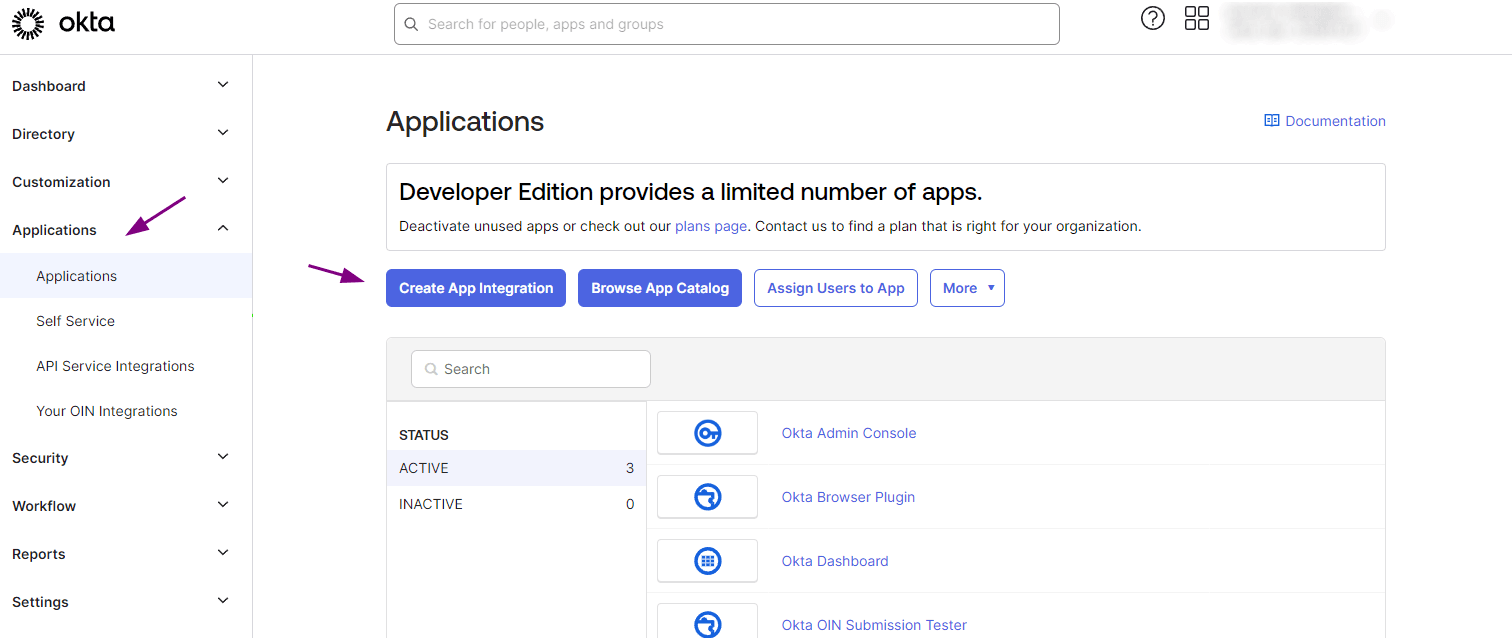
Create a new integration application.
To do this, access Applications and then Create App Integration.
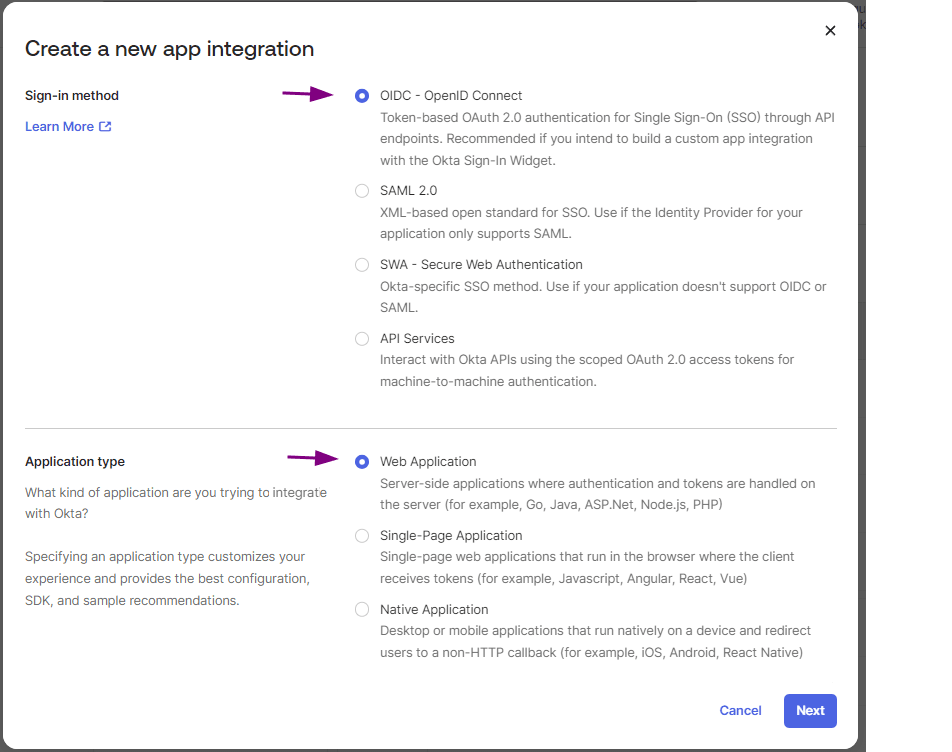
In the Create a new app integration modal window:
- In the Sign-in-method section: select the OIDC-OpenID Connect option.
- In the Application type section: select Web Application.
- Click NEXT.
On the New Web App Integration screen:
- In the General Settings section: fill in the App integration name field with the desired name for your app.
- In Sign-in Redirect URIs, paste the return URL address (Callback URL) that you copied when creating the integration in Access Control.

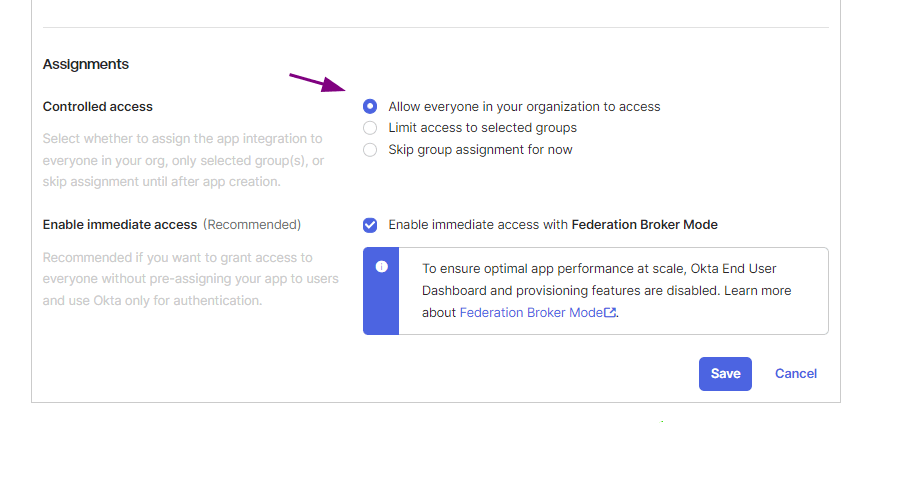
- Scroll the page to the end and, in the Assignments section, select "Allow everyone in your organization to access".
- Click SAVE.
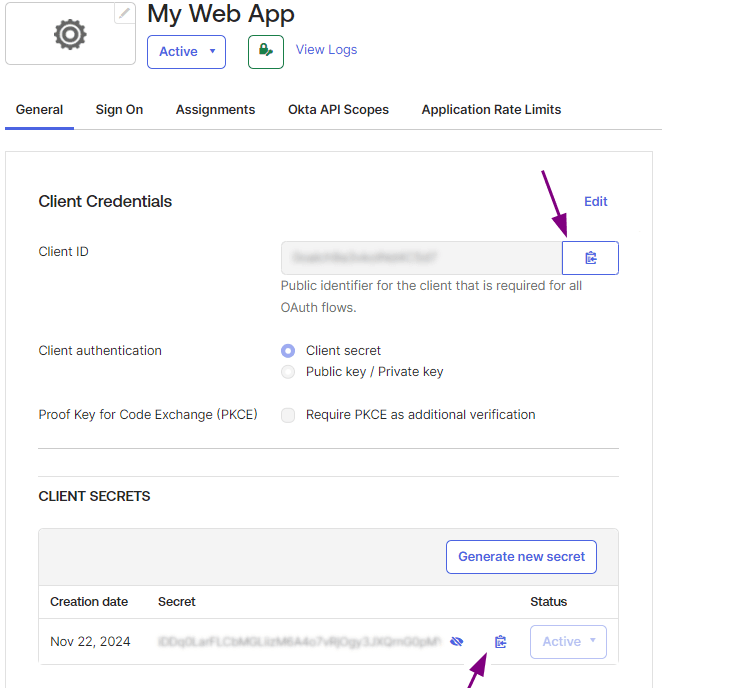
On the My Web App screen, in the General tab:
- Copy the Client ID and Client secret values and save them to use later.
You will also need to obtain the Issuer URI.
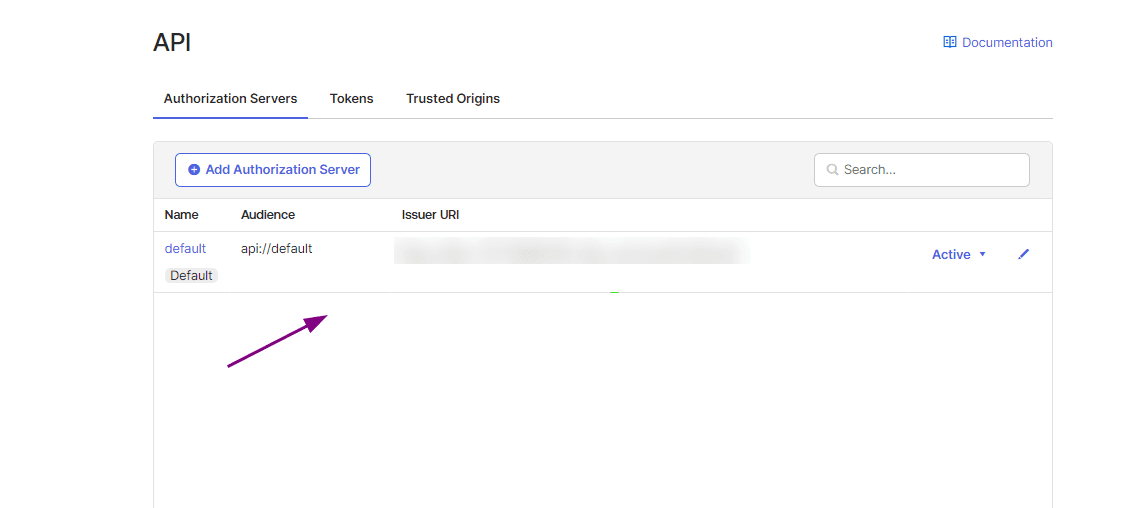
To do this, in the left menu, access Security > API.
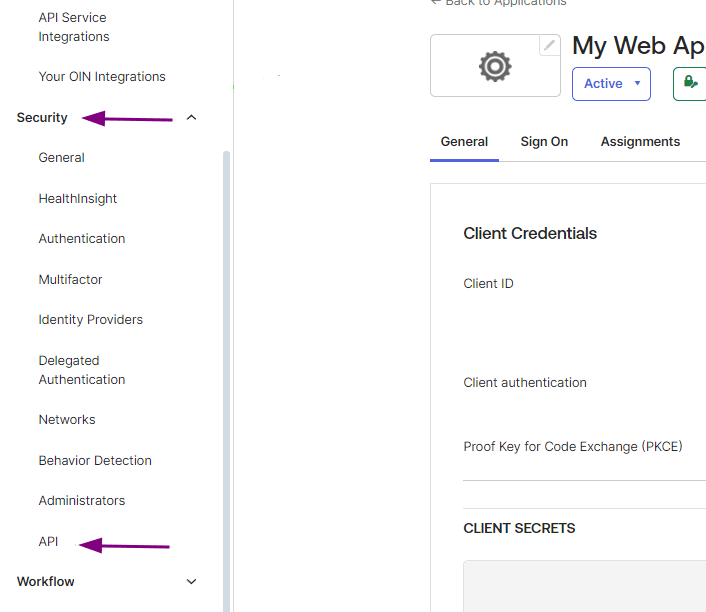
On the API screen copy the Issuer URI and save it to use later.
Configure the federated login in Access Control
After creating the app in OKTA, return to Access Control and fill in the fields below with the obtained data:
- Client ID: information obtained in step 5, on the My Web App screen.
- Client secret: information obtained in step 5, on the My Web App screen.
- Issuer: information obtained in step 6, on the API screen.
- Role: select the role you want to apply for federated users.
NOTEIf there are roles configured on your identity provider side, they will prevail over this one.
Click CREATE.
Click AGREE AND CONNECT.
You will see a message confirming the creation of the federated login.
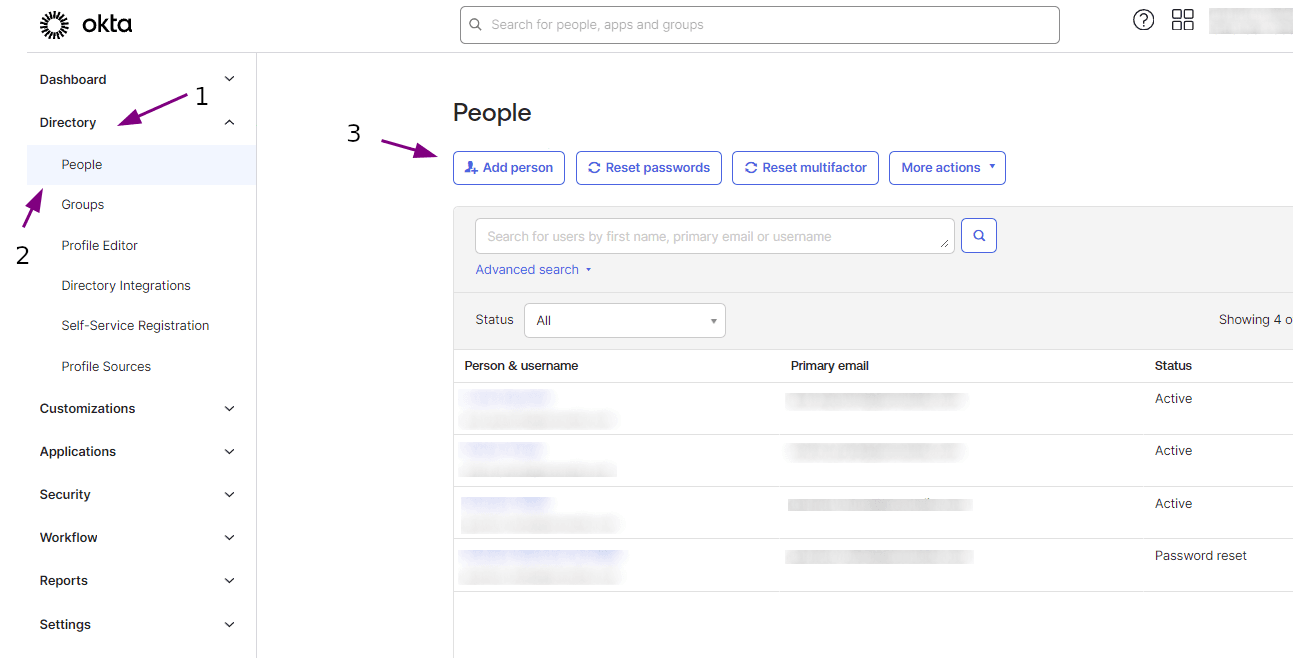
Create a user in OKTA
To create a user in OKTA, access Directory > People in the left menu.
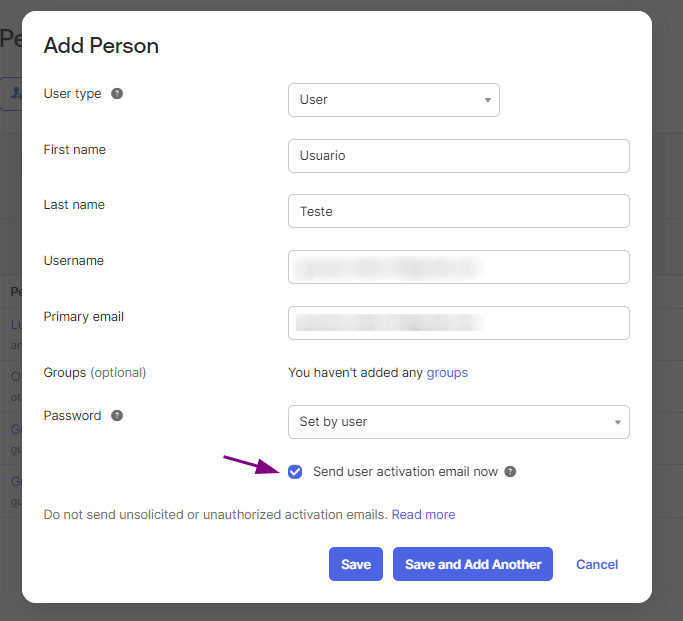
Then click Add person at the top of the People screen.
In the Add Person modal, fill in the fields with user information and click Save.
You will see a screen with the registered users.
If the user doesn't appear, refresh the page.
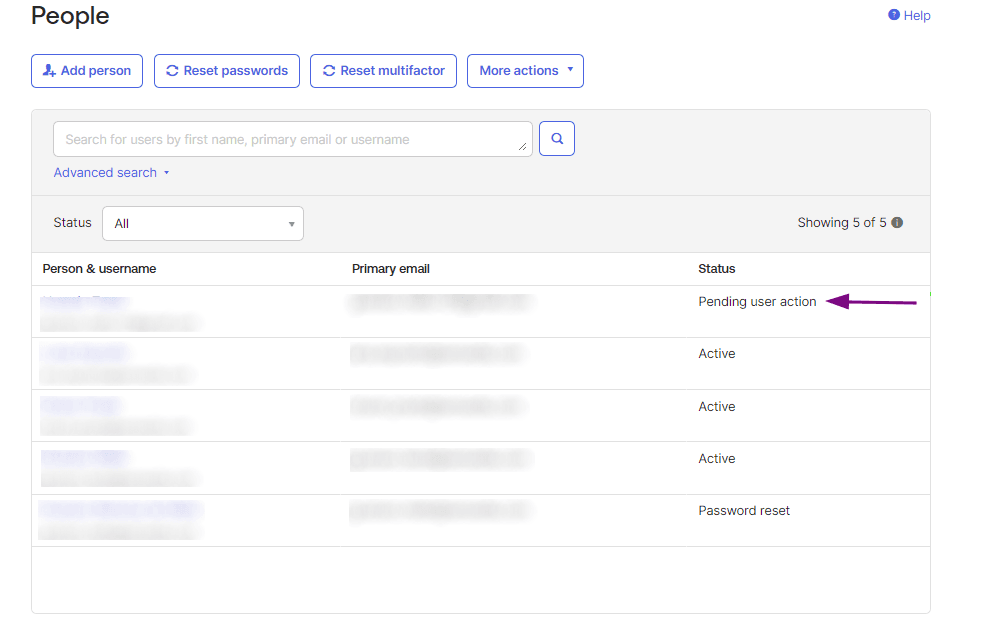
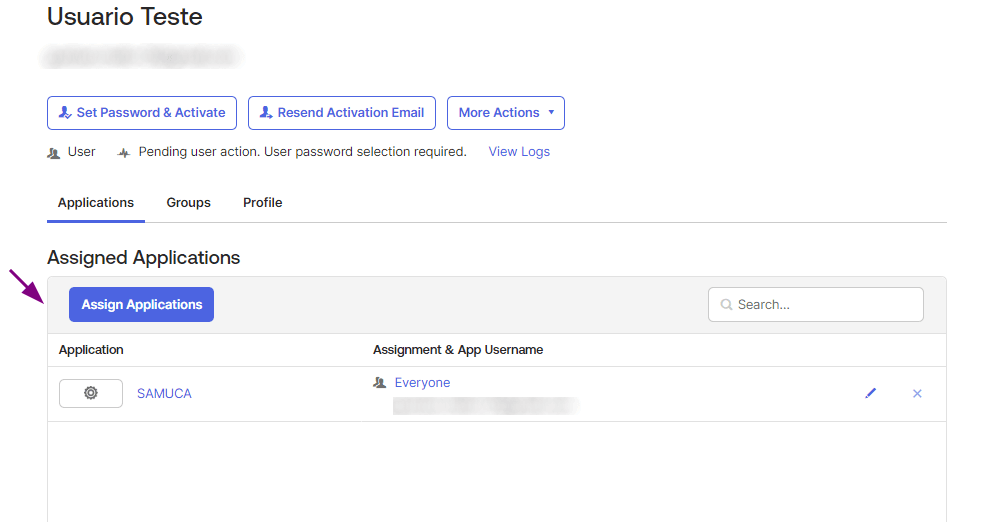
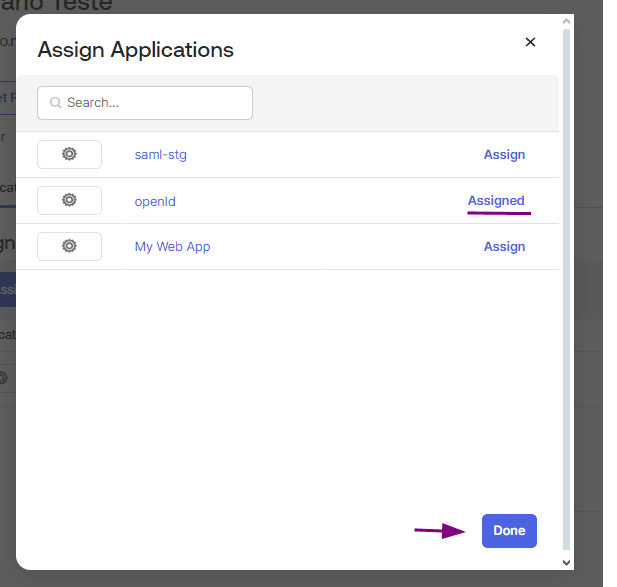
Select the user and click Assign Applications.
In the Assign Applications modal, click the Assign button corresponding to your app.
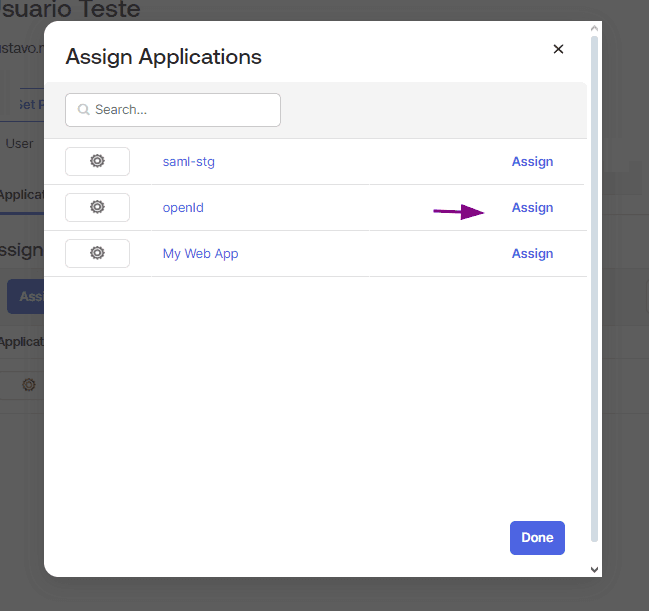
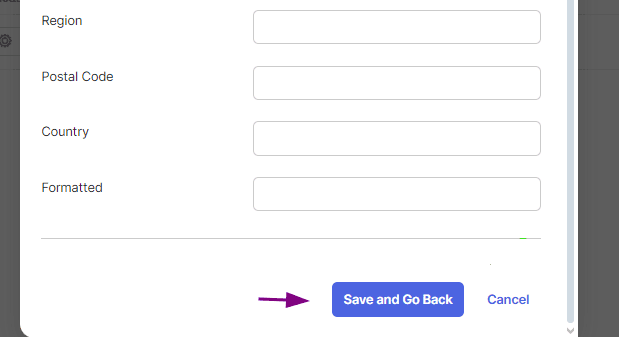
In the presented modal, scroll the screen and click Save and Go Back.
Then click Done.
Now you can authenticate with your user via federated login with OpenID.
Disabling or editing an OpenID Connect connection
Once active, the connection can be updated at any time. To do this, click on any field you want to edit, make the necessary changes and click UPDATE.
To disable a connection, click the DISCONNECT button.
WARNINGBy clicking the DISCONNECT button, all users of that federated login will have their access disabled. To reestablish the connection, fill in the fields indicated above again (Configuring an OpenID Connect connection).
Clicking DISCONNECT does not change your settings with your identity provider.
Login and user control
Unlike what happened with login through the Sensedia Platform, now login with username and password continues to be possible even after configuring OpenID Connect.
A user will be able to log into Sensedia products both through OpenID Connect and separately.