- Home
- Events Hub
- Handlers
- Managing Handlers and Topics
Managing Handlers and Topics
On the Handlers screen, you can create new handlers, as well as modify existing ones by either editing their settings or deleting the handler entirely.
During the process of creating or editing handlers, topics are created to complete the event publishing URL, which is used by publishers to send requests to the Events Hub.
Creating a handler and topics
You can create a new handler by clicking the floating [+] button.
The configuration process consists of four steps, described below: OVERVIEW, TOPICS, POLICY, and REVIEW.
Overview
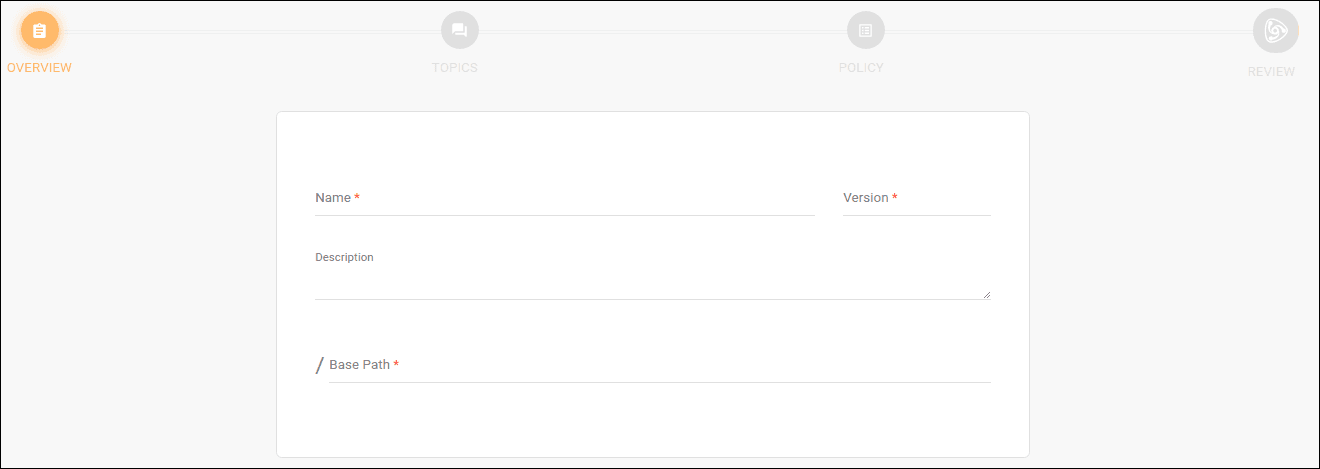
The first screen contains the basic information fields for the handler:
-
Name: the name of the handler.
-
Version: the version of the handler being created.
-
Description: an optional field to describe the handler.
-
Base Path: a required field to specify the path related to the handler; it will be part of the publishing URL (learn more about this here).
NOTEThe handler's base path must be unique; you cannot register more than one handler with the same base path.
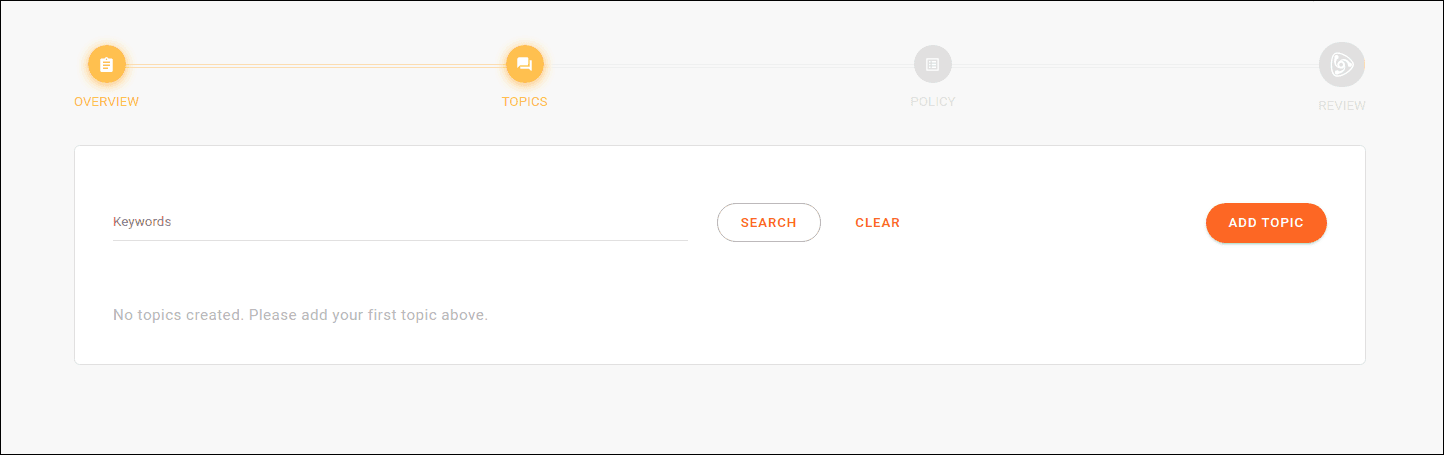
Topics
The second step in creating handlers is dedicated to creating the topics that will be grouped under it. Topics are the final part of the publishing URL for sending events to the Events Hub.
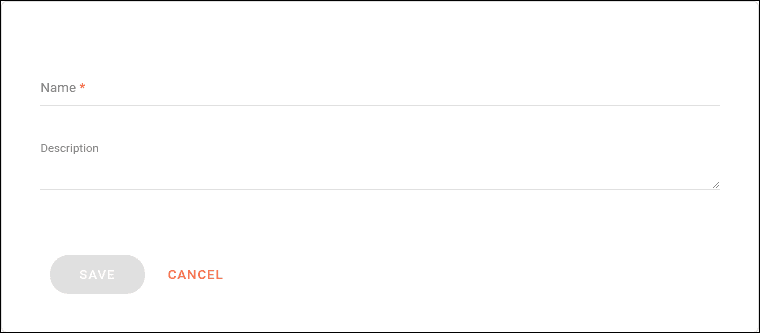
To create a new topic, click ADD TOPIC. This will open a screen to enter the name (which will be concatenated to the publishing URL) and an optional description:
You can add as many topics as you want, and they will be listed as shown below:
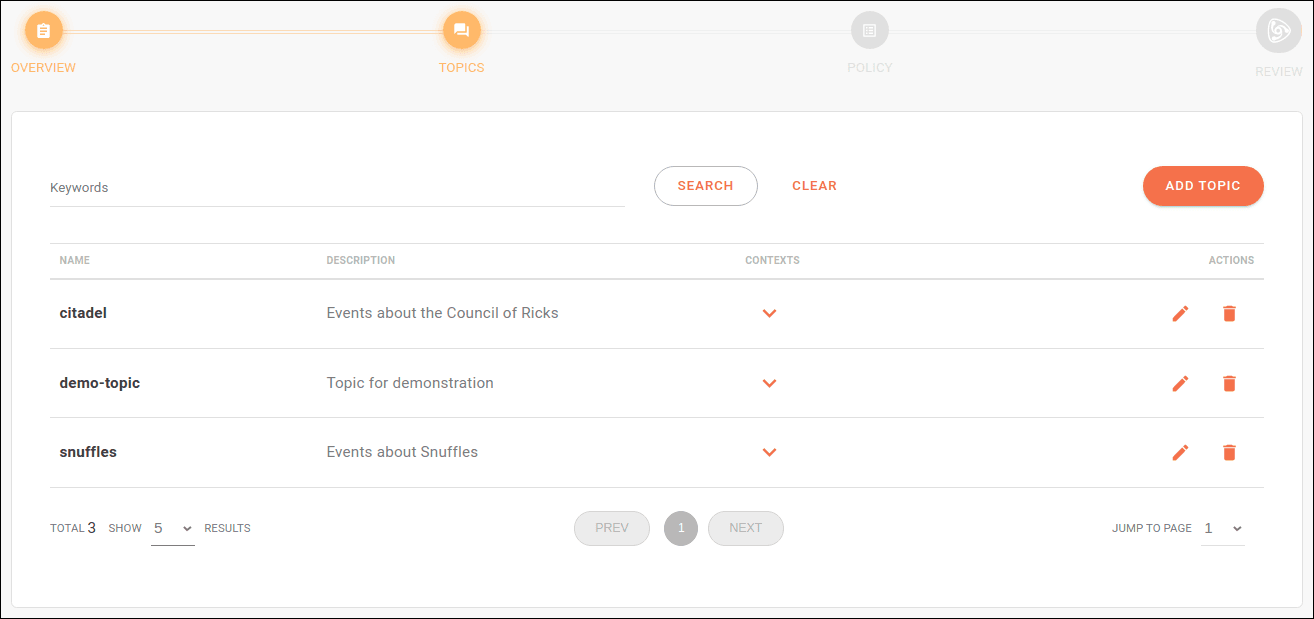
You can edit the topic's name or description by clicking the pencil icon and delete the topic by clicking the trash icon.
Clicking the ![]() icon allows you to view the registered contexts and enable each topic in the desired contexts (via the AVAILABLE column button):
icon allows you to view the registered contexts and enable each topic in the desired contexts (via the AVAILABLE column button):
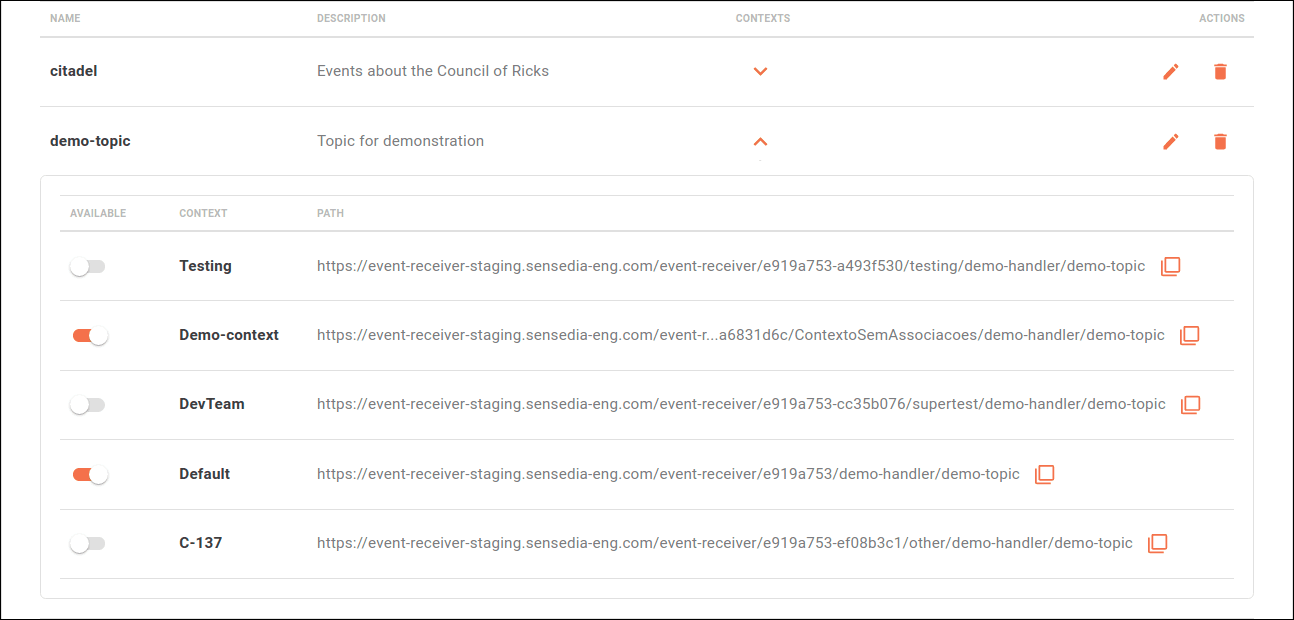
WARNINGTopics can be linked to contexts later through editing. If a topic is not linked to a context, it will not be possible to send events to it.
Policy
In the POLICY step, you can apply a security policy and automatic retry settings to your handler:
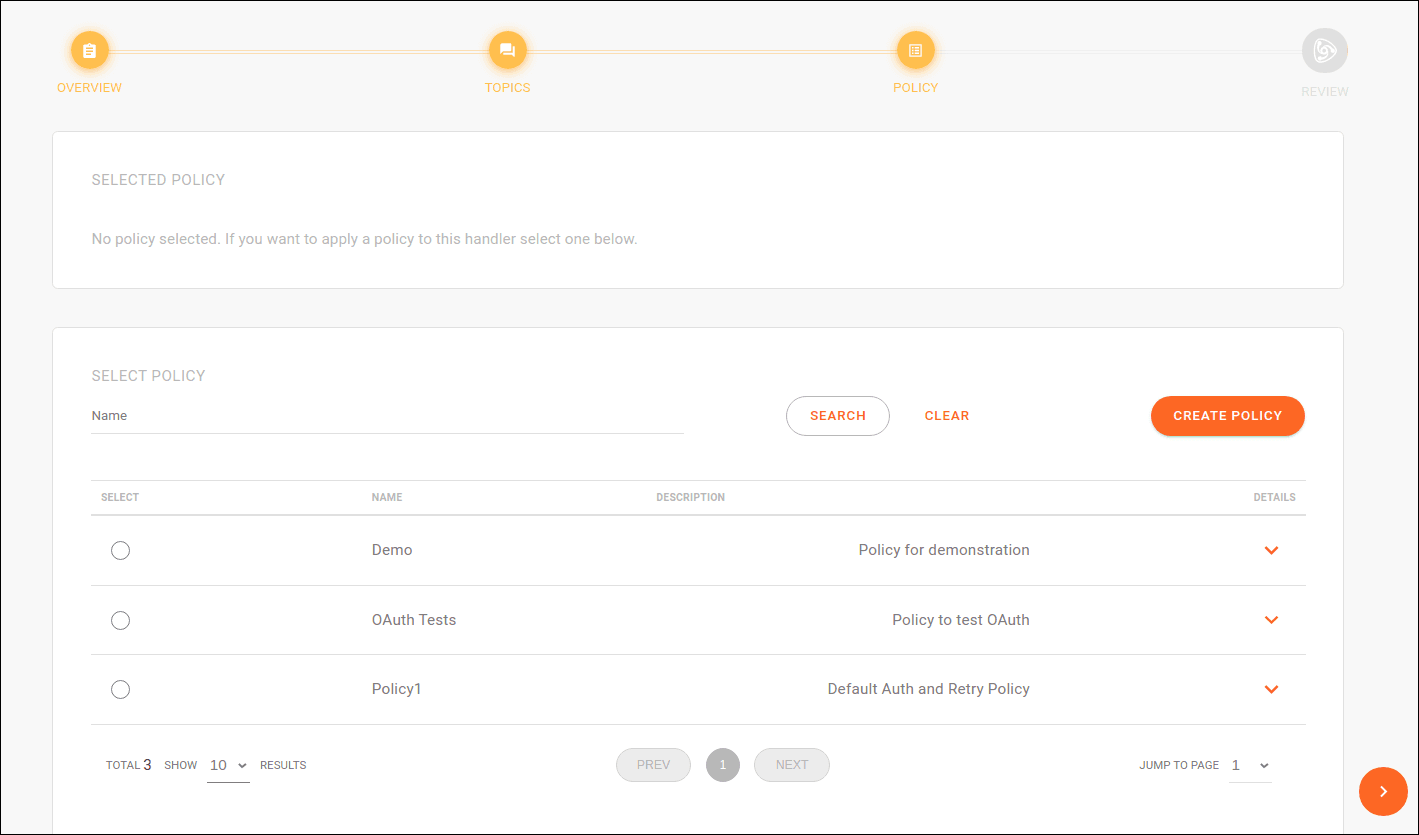
Security is defined by authorization validation interceptors that must be applied for a publisher's request to be accepted by the Events Hub.
Retry settings define the number of automatic attempts to be made if the initial publishing attempt to subscribers fails. They also specify the status codes that should trigger a retry and the maximum request timeout.
TIPLearn more about policy configurations here.
You can choose an existing policy from the Policies page (by selecting a policy from the list) or create a new one (using the CREATE NEW POLICY button). The creation process is the same in both cases (see details here).
Clicking the ![]() icon will display the retry settings and applied security interceptors:
icon will display the retry settings and applied security interceptors:
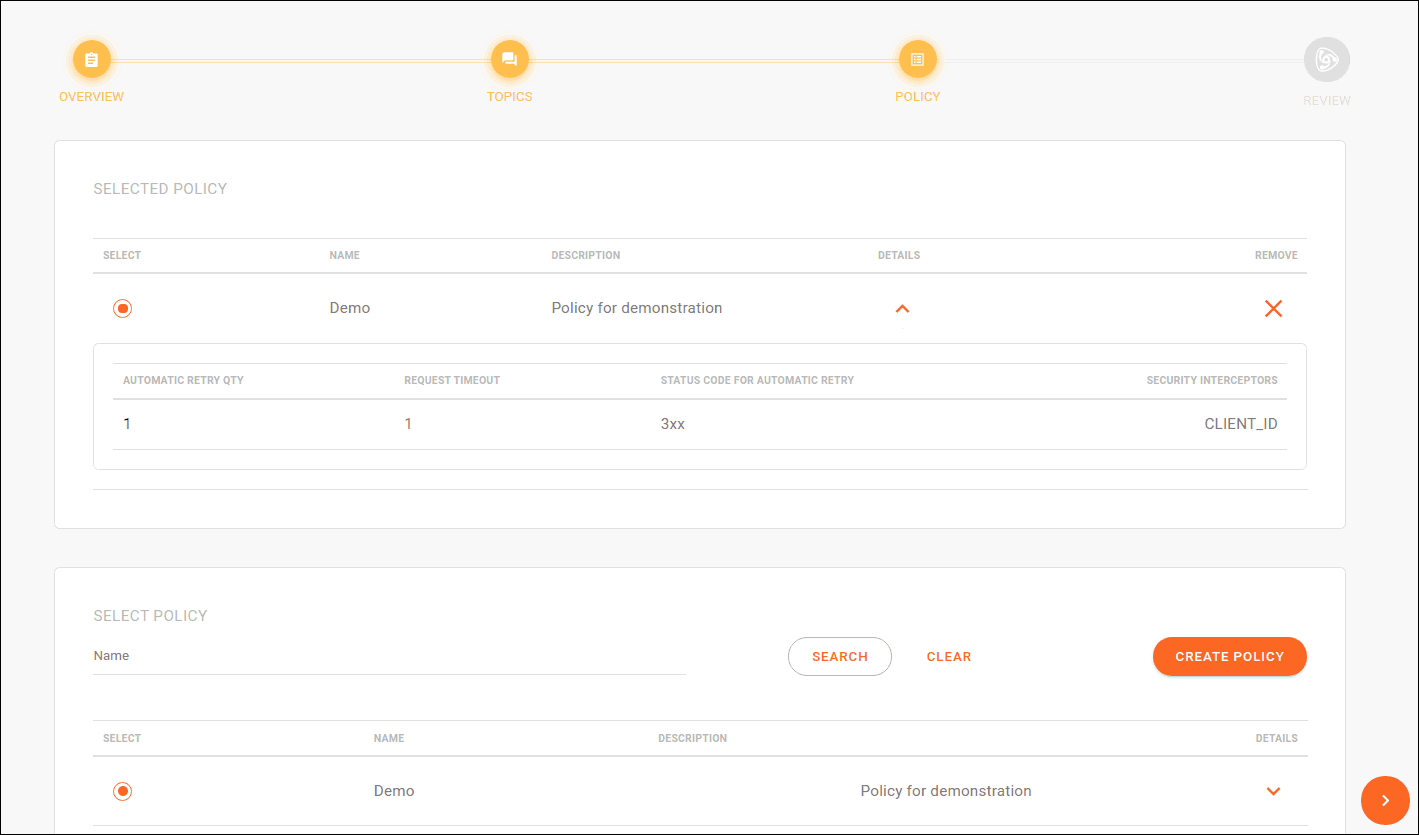
NOTEYou can only choose one policy per handler.
Review
The final step displays a summary of the created handler, listing the topics grouped under it and the applied policy:
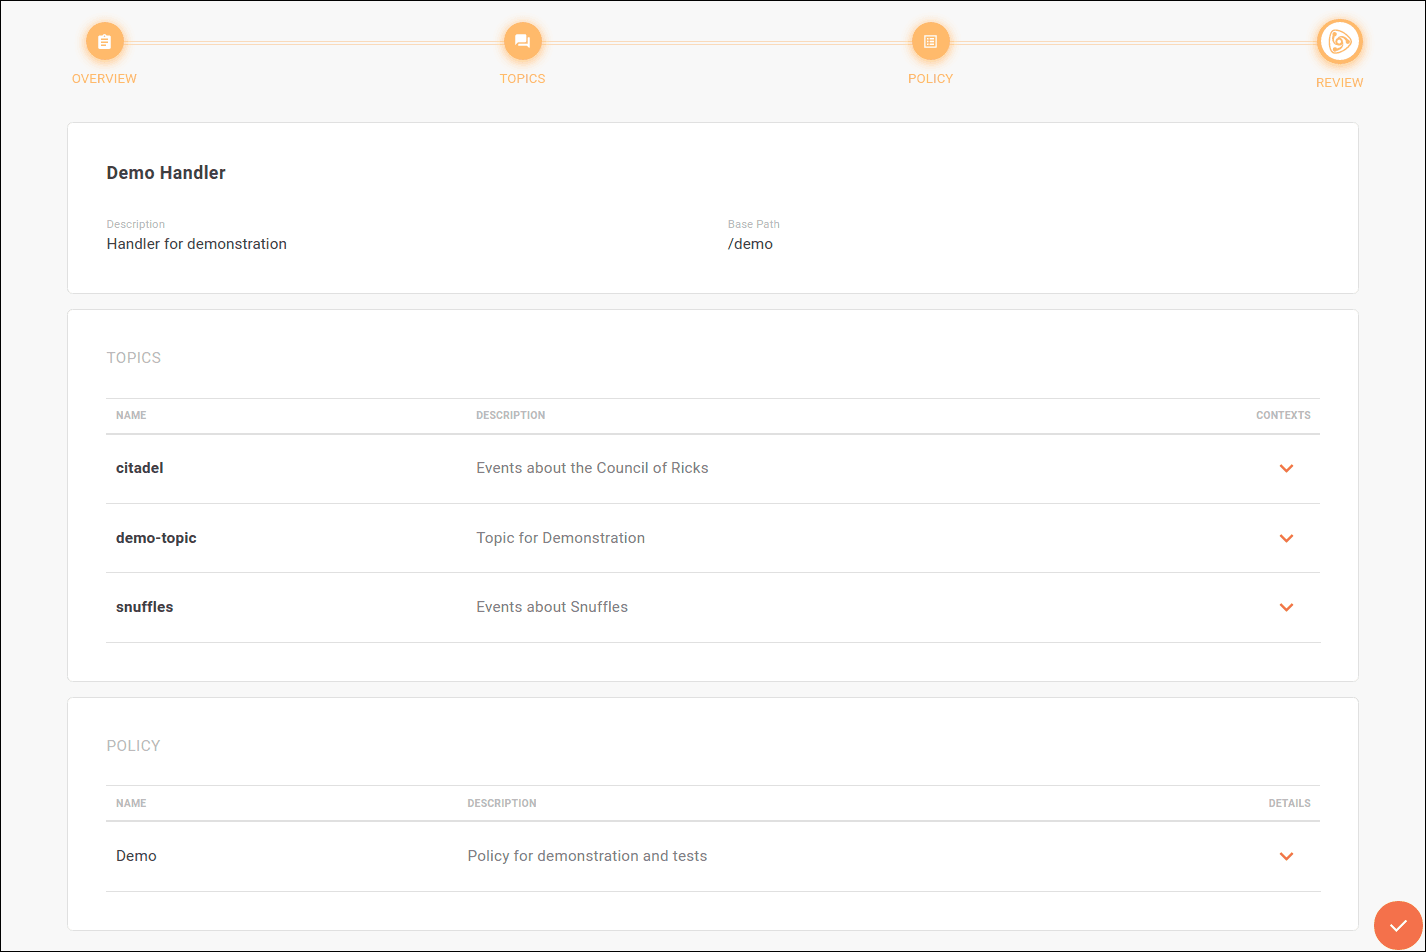
As in the TOPICS step, clicking the ![]() icon on a topic's row allows you to view the registered contexts and enable each topic in the desired contexts.
Similarly, in the POLICY step, clicking the
icon on a topic's row allows you to view the registered contexts and enable each topic in the desired contexts.
Similarly, in the POLICY step, clicking the ![]() icon on the selected policy's row displays the retry settings and applied security interceptors.
icon on the selected policy's row displays the retry settings and applied security interceptors.
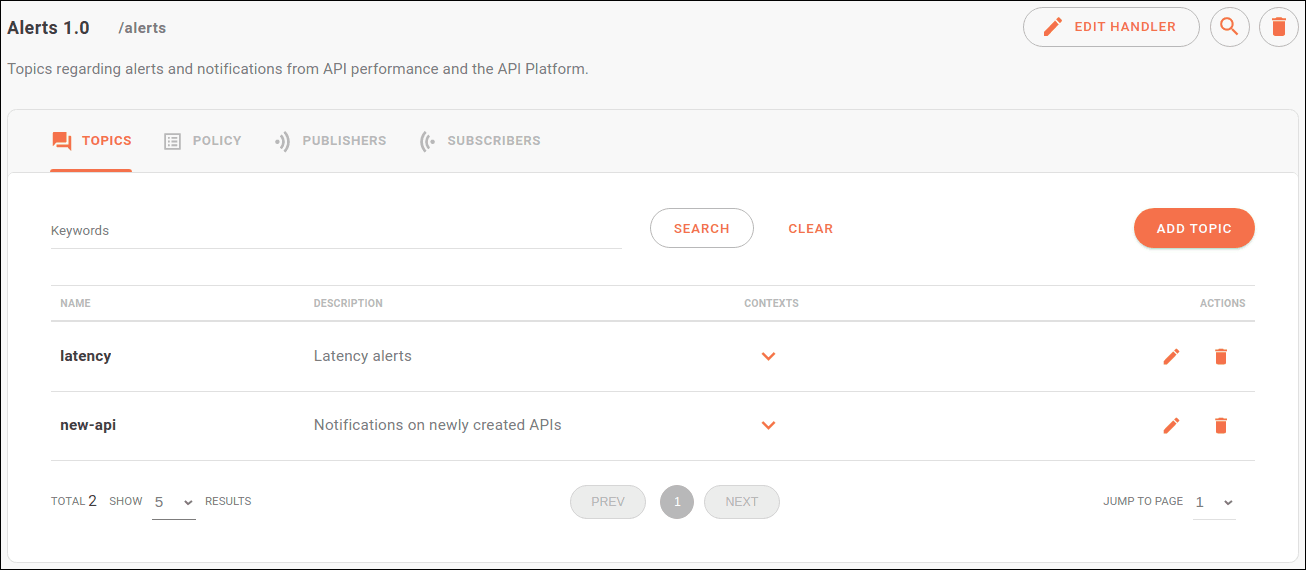
Editing a handler and topics
A handler can be edited from the Overview screen (as shown below) by clicking the EDIT HANDLER button.
The Overview screen is accessed by clicking on a handler card (when the Handlers screen is in card view) or the ![]() icon in the handlers table (when the handlers screen is in list view).
icon in the handlers table (when the handlers screen is in list view).
Using the EDIT HANDLER button, you can edit a handler's basic information (name, description, and base path).
Topics can be edited via the pencil icon in the TOPICS tab.
The selected policy can be replaced with another. To do this, click the ![]() icon in the POLICY tab and select another policy from the list.
To remove the selected policy, click the same
icon in the POLICY tab and select another policy from the list.
To remove the selected policy, click the same ![]() icon and then
icon and then ![]() :
:
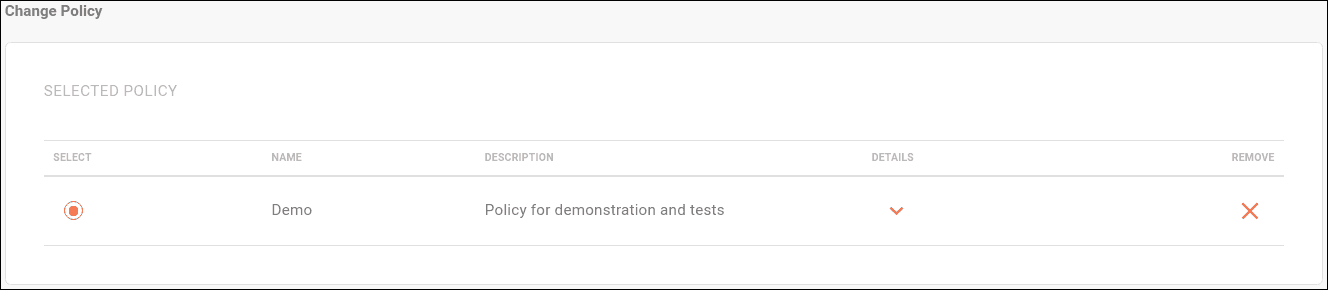
You can also edit the policy by clicking its name in the POLICY tab and then the pencil icon.
Deleting a handler and topics
You can delete a handler entirely by clicking the trash icon in the handler's row in the list view of the handlers screen or, alternatively, by clicking the same icon within the handler's Overview screen.
The Overview screen is accessed by clicking on a handler card (when the Handlers screen is in card view) or the ![]() icon in the handlers table (when the Handlers screen is in list view).
icon in the handlers table (when the Handlers screen is in list view).
If a handler is deleted, all topics grouped under it will also be deleted. Individual topics can be deleted in the TOPICS tab of the Overview screen by clicking the trash icon in the topic's row.