- Home
- Integrations
- On Exception
On Exception
The On Exception tool is a step that executes alternative routes when there are errors that do not return a status code. This way, the execution of the integration flow is not interrupted.
Below, learn how to add it to the canvas and configure its form.
Add On Exception to the canvas
Click the ![]() icon in the left editing menu.
icon in the left editing menu.
Select On Exception to add it to the canvas.
You can use the search bar ![]() to find it.
to find it.
NOTEYou can add On Exception more than once. In this case, each time the tool is added, a number is appended to the name (On Exception 1, On Exception 2, On Exception 3).
Connect On Exception to the output connection of a step and add subsequent steps to create an exception flow.
The connection between On Exception and the step immediately before it will have a dotted line to differentiate the exception flow from the main flow. When you hover over this step, a tooltip will appear indicating that it is an exception flow (Exception flow).
General connection rules for On Exception
-
On Exception indicates the beginning of the exception flow and must connect to the output connection of a connector.
-
On Exception can have more than one input connection. This means that different connectors can execute the same exception flow.
-
On Exception can have only one output connection.
-
The Rest API Connector can be connected to only one On Exception.
-
It is mandatory to connect the exception flow to the End step of the main flow.
-
If you delete the connection line between On Exception and another step, you will see the alert icon on On Exception.
Exception flow inside For Each
You can create an exception flow with On Exception inside For Each.
In this case, the following rules apply:
Configure the form
Select On Exception on the canvas.
Click the edit icon ![]() .
.
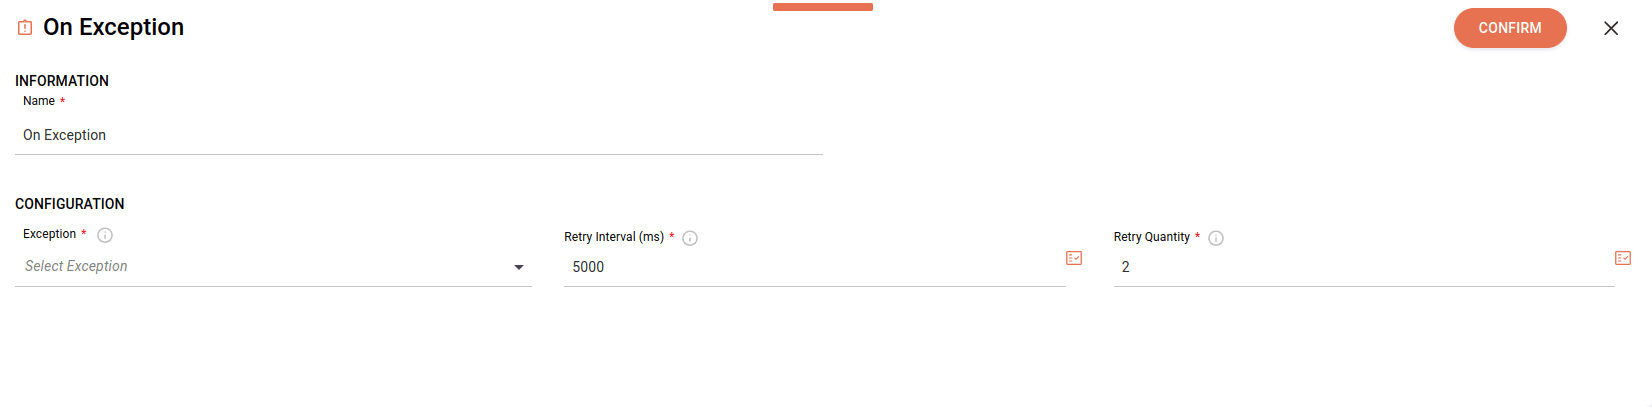
Fill in the following fields:
- Name: enter a unique name for the step. By default, you will see "On Exception". Alphanumeric field with a limit of 20 characters. Special characters and whitespace are not allowed.
- Exception: select the exceptions for executing the alternative route. To delete any exception, you must select them one by one.
NOTETo delete all selected exceptions, click the X to the right of the selected exceptions.
List of exceptions:
- Network Errors - Connection Timeout
- Network Errors - Socket Error
- DNS Resolution Error - Host Not Found
- SSL/TLS Errors - SSL Handshake Failure
- Timeout Errors - Read/ Write Timeout
- General Exception
-
Retry interval (ms): add the time interval between retries, in milliseconds. The default interval is 5000ms and the maximum interval is 30000ms.
-
Retry Quantity: add the number of retries. The default quantity is 2 retries and the maximum quantity is 5 retries.
By clicking the Properties icon ![]() on the right, you can:
on the right, you can:
- Select previously registered variables.
- Select input or output payloads from previous steps.
- Create expressions using the Expression Builder.
NOTERead more about Properties and Expression Builder.
When you finish configuring the form, click CONFIRM.
To copy the On Exception step and its settings, click the tool icon on the canvas and click the ![]() button on the right.
button on the right.
To delete On Exception from the canvas, select it and click the ![]() button.
button.