- Home
- Integrations
- REST API Connectors
REST API Connectors
Creating a connector
To create a REST API connector, follow the steps below:
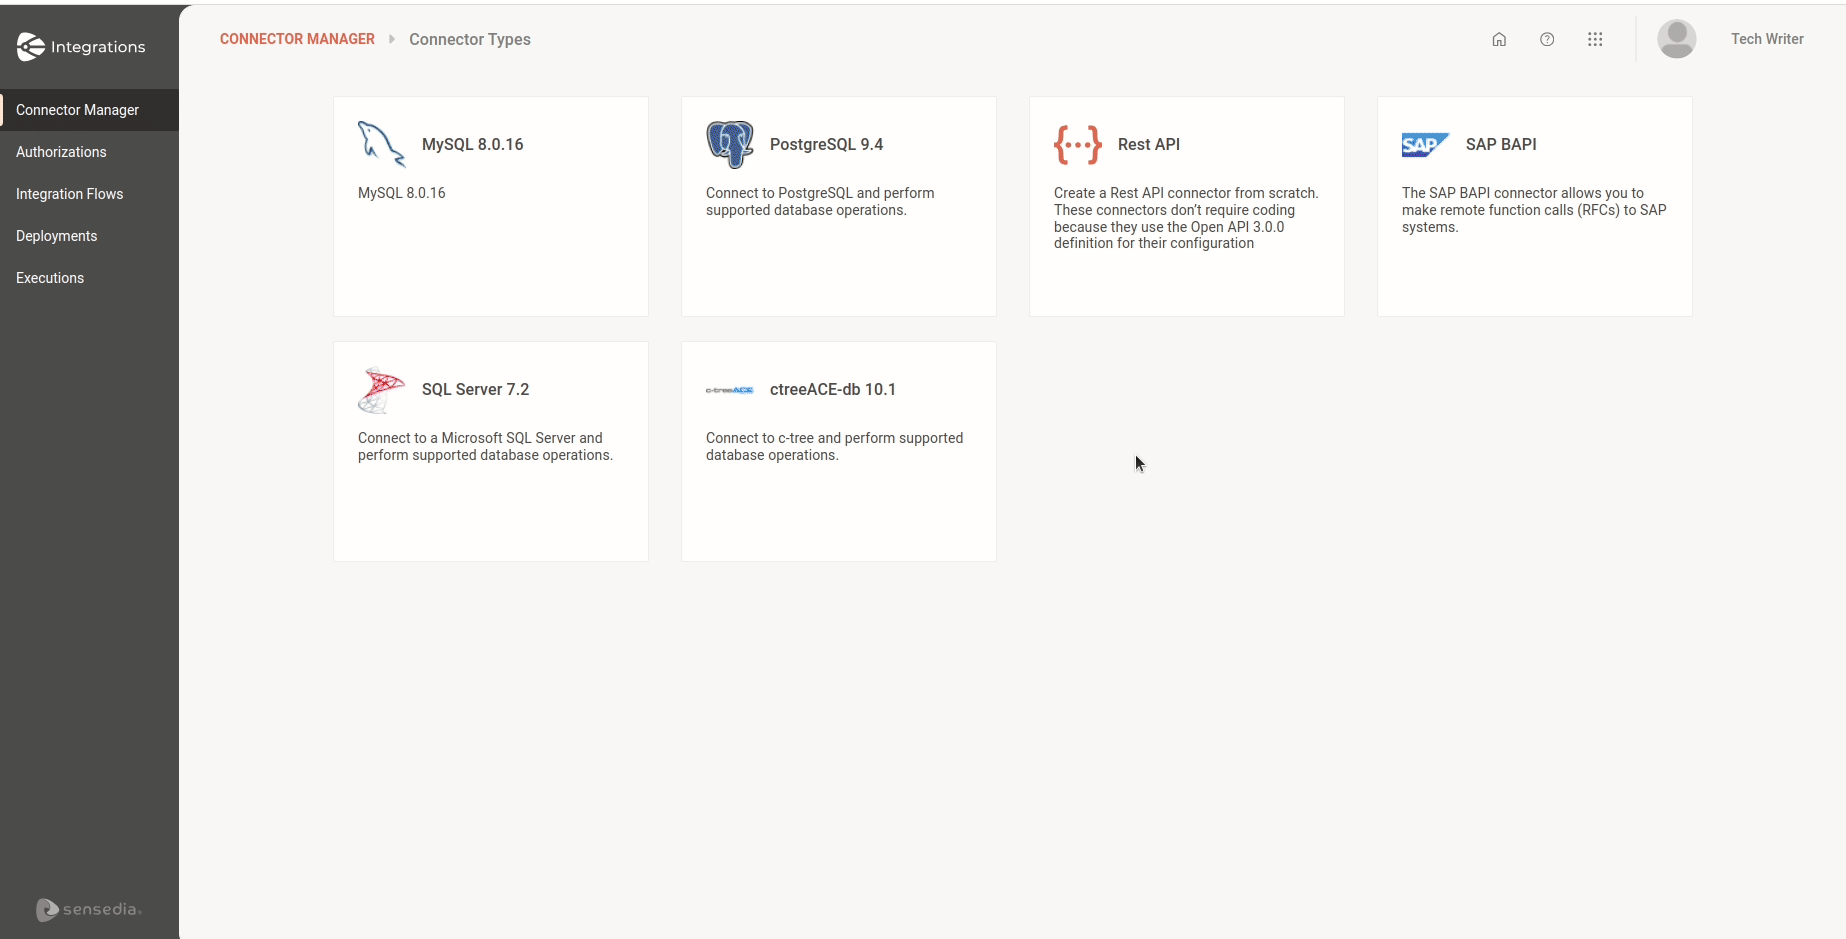
Access the Connector Manager screen
Click + NEW CONNECTOR
Select the REST API connector card
Import a file with the Open API 3.0.0 specification
-
In the modal window that opens, click SELECT FILE to locate the file.
-
After locating the file, click IMPORT.
-
When importing the file, the system will check for structure errors and compliance with the supported version. After validation, the connector configuration screen will open, with all fields automatically filled in with the imported data.
NOTEOnly files with the extensions ".json", ".yaml" and ".yml" are allowed to be imported.
Edit the fields with connector information (optional)
- Name: connector name.
- Version: connector version.
- Description: connector description.
- Add icon: add an icon to represent the connector.
Select the routes
- If you prefer, click Select All to select all available routes.
NOTEYou can view the request and response of each selected route on the right side of the route list.
Click CREATE
IMPORTANTIt is not possible to edit a REST API connector. If you want to make changes, such as selecting a new route, you will need to create a new connector. For other modifications, update the specification in the import file.
Configuring a connector
To use the connector you created in Connector Manager in an integration, you must configure it on the Flow screen. To do this, follow the steps below:
Add the connector to the canvas
Access the Integration Flows screen
Select the desired integration flow
- If the integration flow that will use the connector already exists, select it and open the Flow screen.
- If you want to use the connector in a new flow, click + NEW FLOW.
NOTECheck out our tutorial on how to create your first integration flow.
Select the connector in the canvas editing menu
- Click the
 icon in the left editing menu.
 - Search for and select the connector you registered.
You can use the search bar
 to find it.
 - Select the connector on the canvas and click the edit icon
 to open the configuration form.
 - Make sure the connector is connected to the previous step and the step after it on the canvas.
NOTEEach connector allows only one input connection and one output connection.
TIPWhen selecting the connector on the canvas, you can:
- Edit it
- Copy it
. If the connector form is already configured, the settings will be copied as well.
- Delete it
.
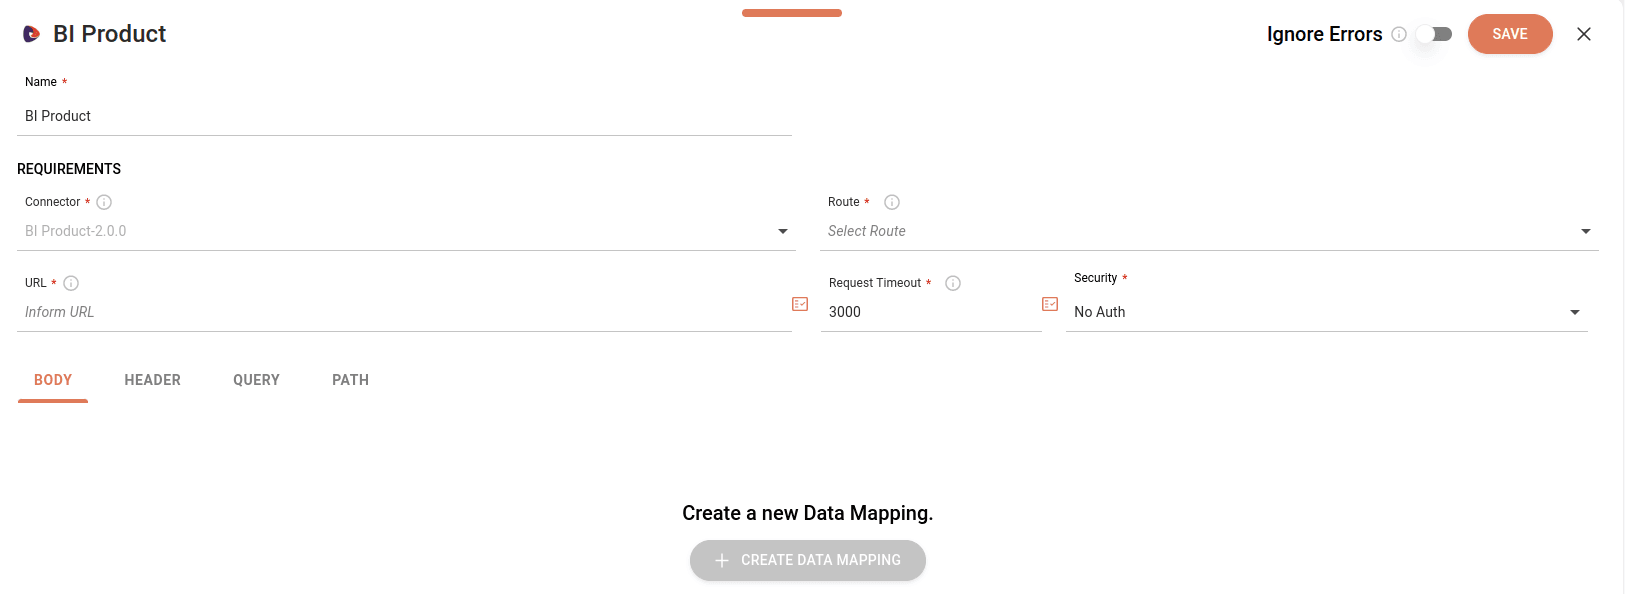
Fill in the editing form
-
Name: connector name. Automatically loads the name you used during connector creation, but can be edited.
-
Connector: locked field that shows the connector name at the time of its creation.
-
Route: select the route (example:
GET/customer) that the connector will use. If there are many, you can type the HTTP method or path to filter the results. -
URL: enter the URL that will make the request. If you have registered the URL in environment variables, you can click the icon on the right and select it.
-
Request Timeout: enter the request timeout in milliseconds. By default, the value will be 3000 milliseconds and the maximum value is 300000 milliseconds.
By clicking the Properties icon
 to the right of the URL and Request Timeout fields, you can:
- Select previously registered variables.
- Select input or output payloads from previous steps.
- Create expressions using the Expression Builder.
NOTERead more about Properties and Expression Builder.
-
Security: automatically enables the security type already configured in Authorizations. If there is more than one type of security registered, the field will show a list with the options. If the connector does not have any security type enabled, by default the field will display the No Auth option.
-
Ignore Errors: ignores errors during flow execution. By default, this button is disabled and you can enable it. Check out details about its operation in the table below:
Enabled Disabled
Flow execution continues, even if there are errors in the process. Execution will be stopped immediately. Logs show the step with error. Logs show execution up to the step with error. Following steps will be executed. No following steps will be executed.
Configure the tabs: Body, Header, Query and Path
Body
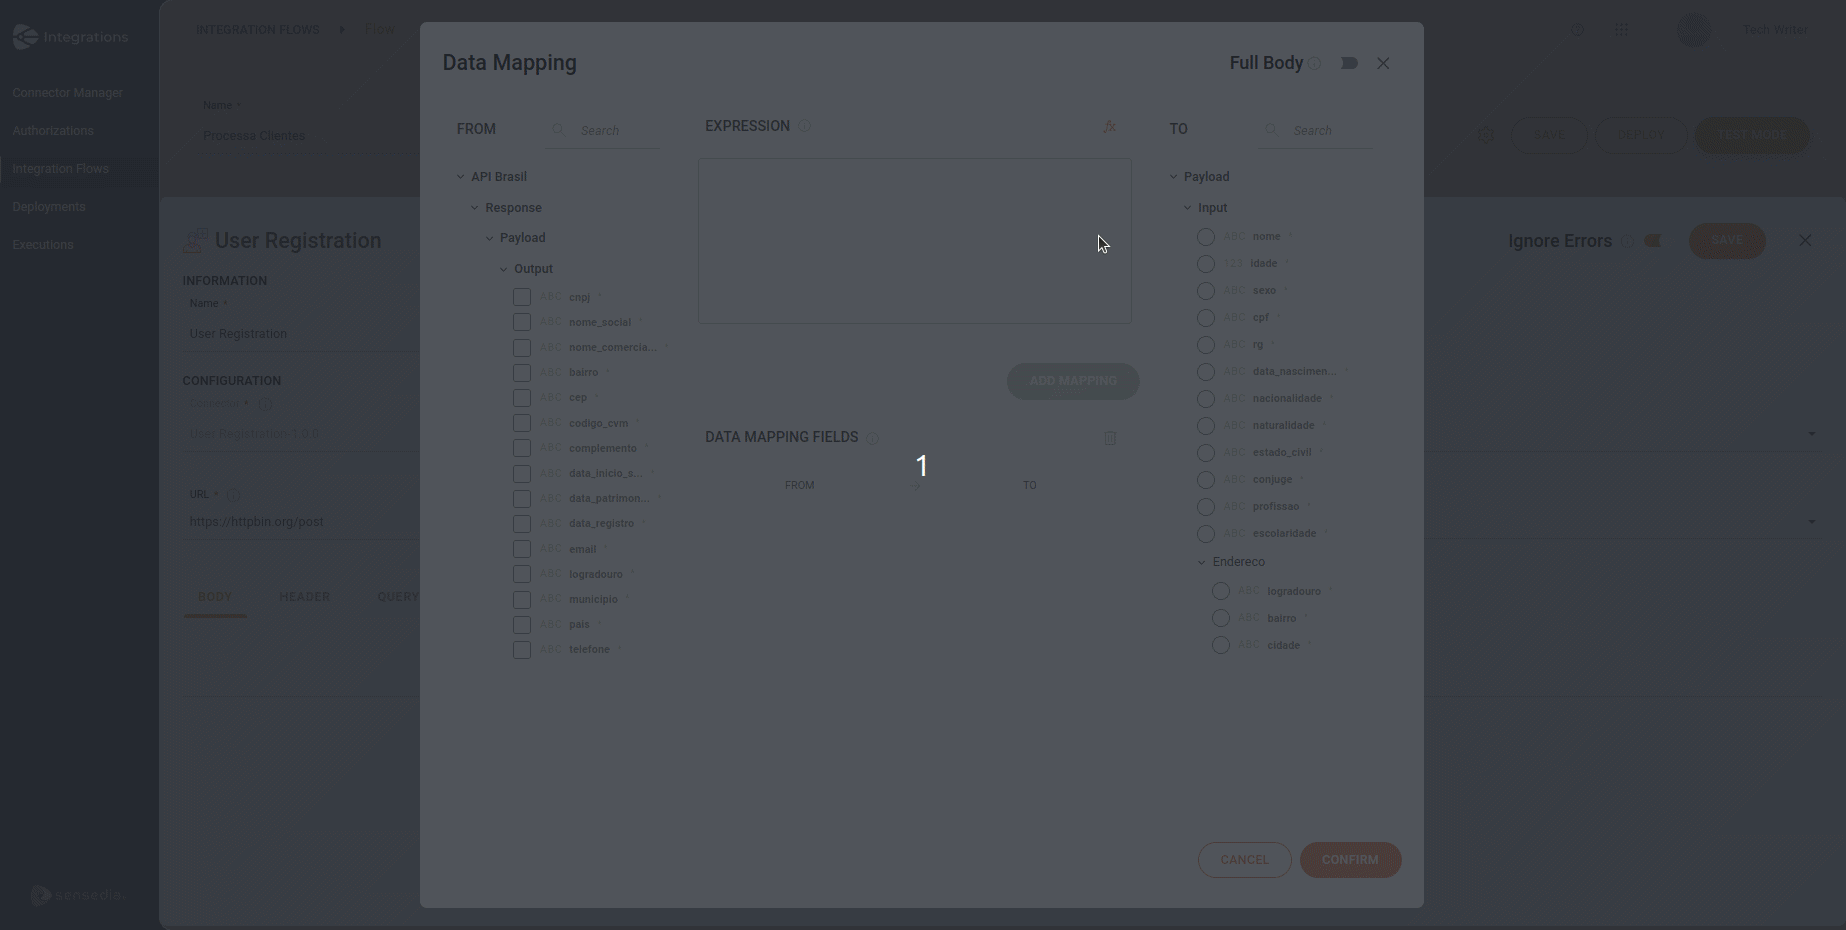
To configure the request body, click + CREATE DATA MAPPING.
There are two configuration options:

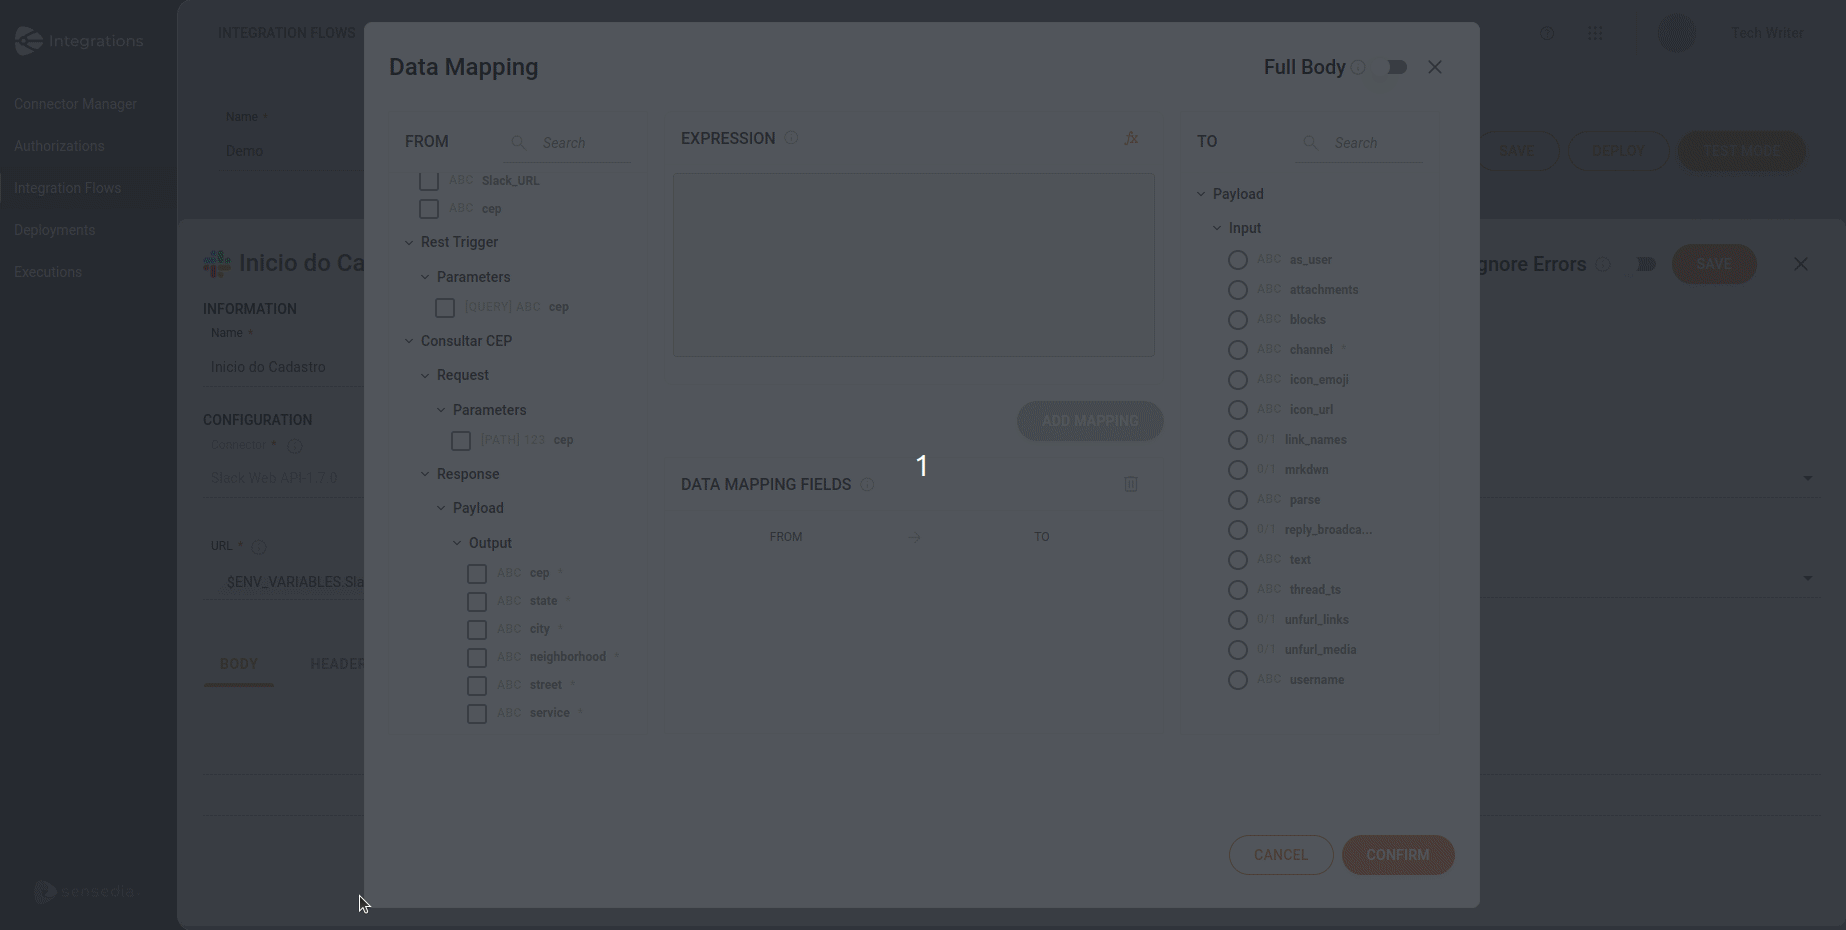
Data Mapping
Data mapping is fundamental for integrating different systems and applications, allowing the fluid exchange of information between them. It transforms data from one format to another, adjusting fields and types as needed.
Using the "FROM" and "TO" columns, you can map your data manually:
-
FROM: indicates the data source, which includes previous steps and registered environment variables.
-
TO: represents the data destination, which corresponds to the connector request body.
![]()
1-to-1 data mapping
Select an attribute in the "FROM" column on the left.
Select an attribute from the "TO" column on the right.
Click ADD MAPPING.
Click CONFIRM.
You can repeat the steps above as many times as necessary.
Once saved, you will be able to view the data mapping in the Body tab and the edit option will be enabled.
See a demonstration in the GIF below:
2-to-1 or more data mapping
For a 2-to-1 or more data mapping, you must use an expression.
To do this, before selecting the attributes in the "FROM" column, click on the concat function (the only available function) in the EXPRESSION section. If you prefer, you can write the expression manually.
IMPORTANTYou can only select one attribute from the "TO" column, and this attribute cannot be chosen more than once.
See a demonstrative GIF below:
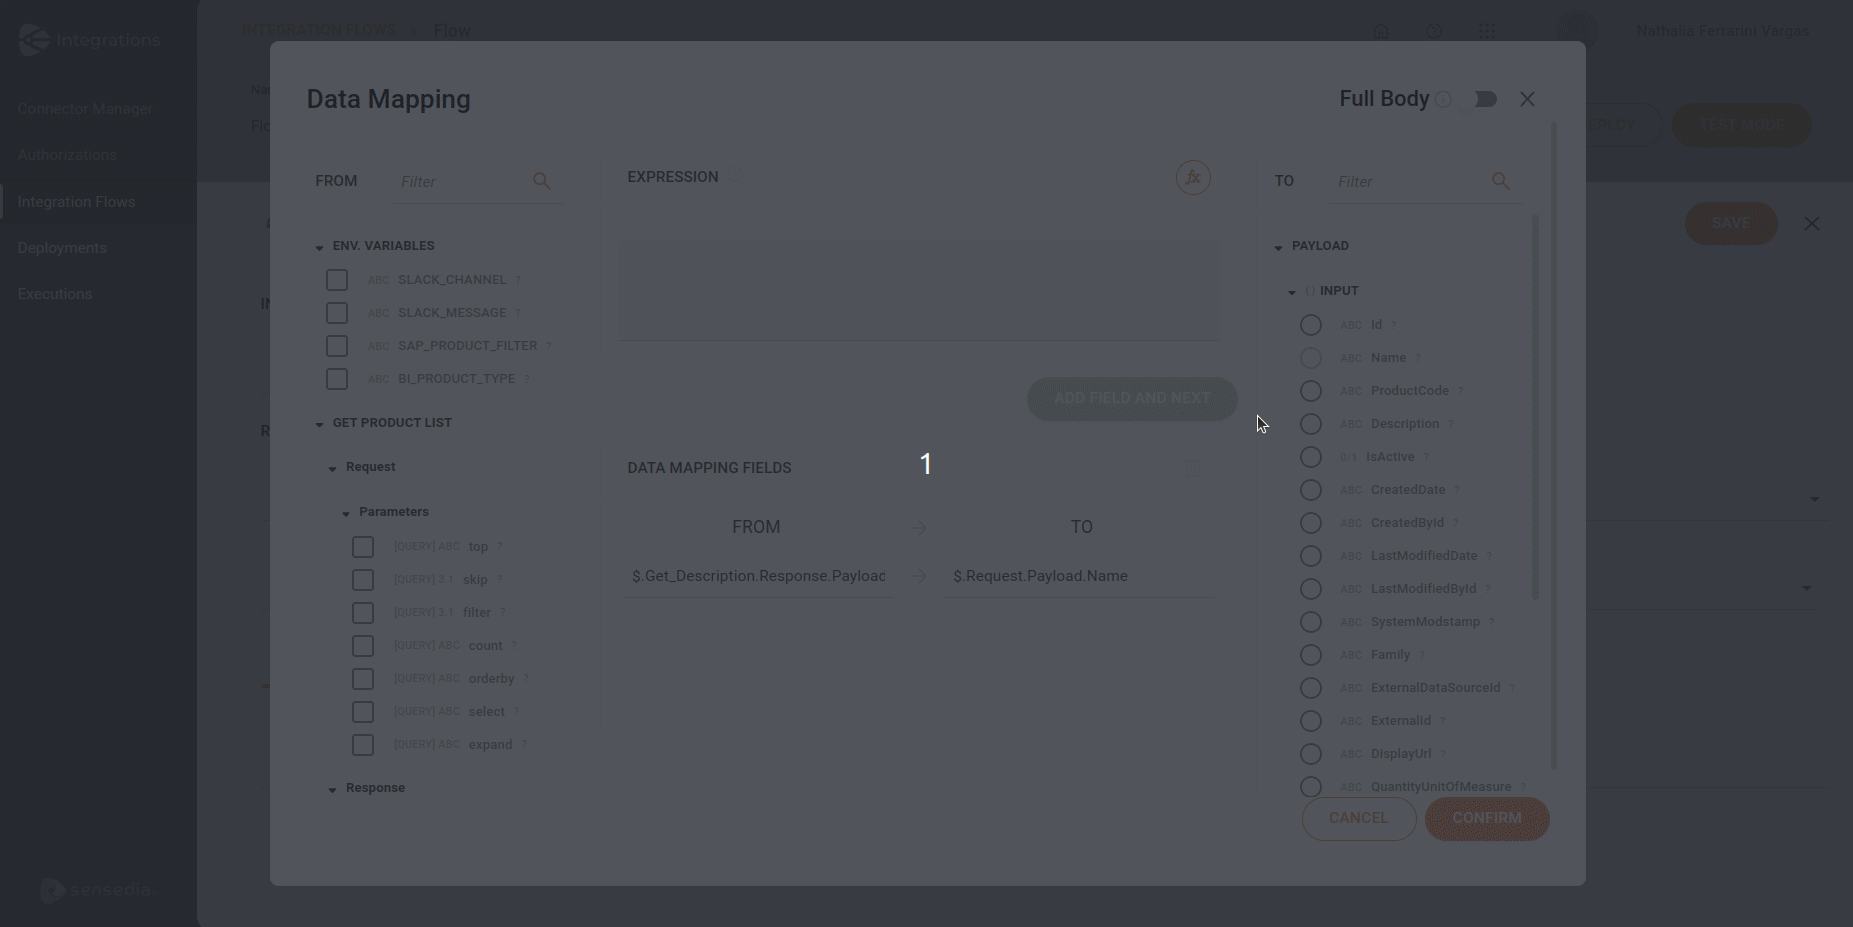
Now, see another example of data mapping:
-
Use of the concat function to map three attributes from the "FROM" column (
logradouro,municípioandUF) to thelogradouroattribute of the "TO" column. -
Mapping the
nome_socialattribute from the "FROM" column to thenomeattribute of the "TO" column. For Each appears in front of the expression, as it is the source of the payload. -
Manual mapping of the city "São Paulo" to the
cidadeattribute of the "TO" column.
See the examples in the GIF below:
Data mapping fields
You can view the data mapping in DATA MAPPING FIELDS. Each row shows the input attribute (or expression) and the output attribute in the respective columns.
TIPIf the arrow between the "FROM" and "TO" columns is gray, this indicates that there is no associated expression. On the other hand, if the arrow is orange, it means that an expression was used.
To delete a row from the data mapping:
Click the arrow between the "FROM" and "TO" columns to select the row.
Then click the ![]() next to the "DATA MAPPING FIELDS" section title.
next to the "DATA MAPPING FIELDS" section title.
Attribute structure
Consider the data mapping example with the concat function:
Input attributes
Observe how the different parts of the API data structure appear in the data mapping:
- Response
- Payload
- Logradouro
- Município
- UF
- Payload
concat: the concat function joins the three elements into a single string.$.: common convention in languages and data structures that use path notation to access elements within objects or JSON.API_Brasil.Response.Payload.logradouro: this path points to the "logradouro" field within the API Brasil response payload.API_Brasil.Response.Payload.município: this path points to the "município" field within the API Brasil response payload.API_Brasil.Response.Payload.uf: this path points to the "uf" field within the API Brasil response payload.
Output attributes
- Request
- Payload
- Endereço
- Logradouro
- Endereço
- Payload
This snippet indicates that the concatenation result (the complete address) will be stored in the "logradouro" field of the request payload.
Data Mapping with Full Body
In the upper right corner of Data Mapping, you can enable or disable the FULL BODY button.
This way, the connector request is sent with the properties, structures, and values in the call request and you don't need to map them one by one. By enabling the button, you automate the entire data mapping process.
To automate your process, follow the steps below:
Enable FULL BODY.
In the Input Data field, select the step that contains the data to be mapped. You can select the request/response payload from connectors, the request payload from the trigger, or For Each.
In Full Data Mapping, view the automatically created mapping transforming the "FROM" fields to the "TO" fields.
Click CONFIRM to save the data mapping.
Once saved, you will be able to view it below the Body tab and the edit option will be enabled.
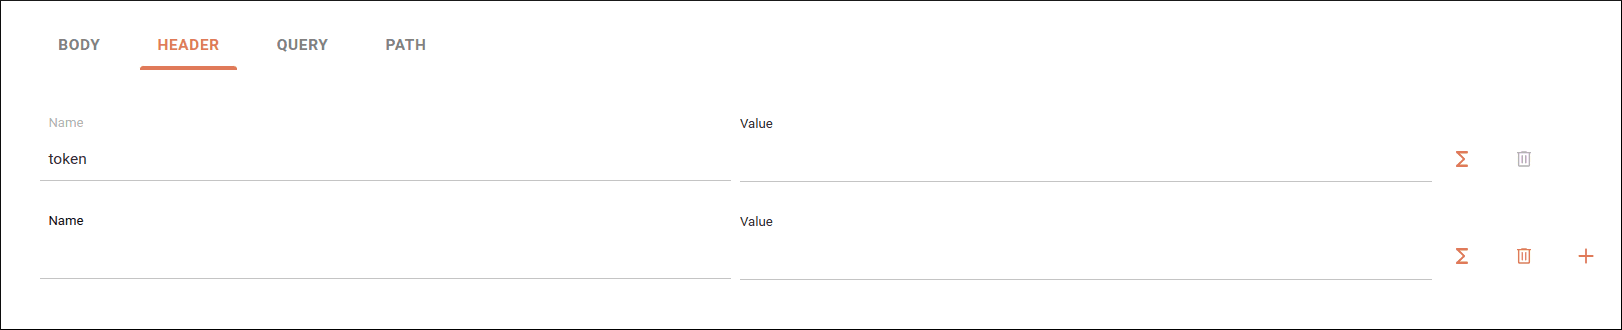
Header
When you click the Header tab, you see the headers associated with the route chosen in the REST API connector form configuration.
Configure the following fields:
-
Name: by default, the form loads the name automatically. If there is none, you can enter it manually.
-
Value: enter the header value. You can do this manually or by using the
 button to access the Expression Builder.
In this case, you can create expressions or just use the Properties column to select the attributes and click CONFIRM.
button to access the Expression Builder.
In this case, you can create expressions or just use the Properties column to select the attributes and click CONFIRM.
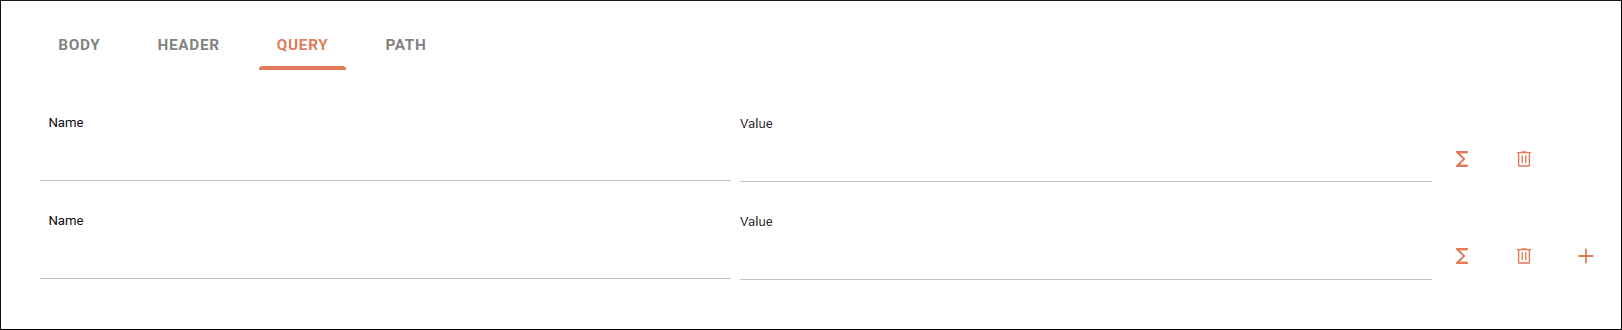
Query
When you click the Query tab, you see the query parameters associated with the route chosen in the REST API connector form configuration.
Configure the following fields:
-
Name: by default, the form loads the name automatically. If there is none, you can enter it manually. The assigned name cannot contain spaces. Use, for example, "tax10" or "tax_10" instead of "tax 10".
-
Value: enter the query parameter value. You can do this manually or by using the
button to access the Expression Builder.
In this case, you can create expressions or just use the Properties column to select the attributes and click CONFIRM.
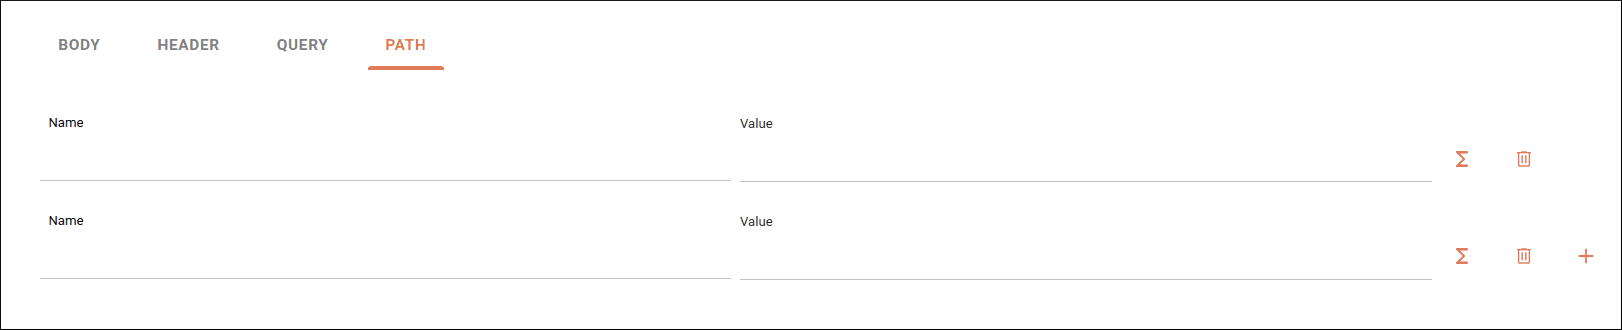
Path
When you click the Path tab, you see the path parameters associated with the route chosen in the REST API connector form configuration.
Configure the following fields:
-
Name: by default, the form loads the name automatically. If there is none, the field is locked.
-
Value: enter the path parameter value. You can do this manually or by using the
button to access the Expression Builder.
In this case, you can create expressions or just use the Properties column to select the attributes and click CONFIRM.
After finishing the connector configuration, click SAVE.
Alert
An alert icon ![]() will appear on the connector if:
will appear on the connector if:
-
The fields below are not configured:
- Route
- URL
- Request Timeout
- Security
-
Registered environment variables are changed or deleted.
-
Attributes defined in previous steps are modified or removed while still being used in the configured step.